


Footloose Shopping List
(shop in April for May Scrapbook Classes)
Workshop on the Go: $35.00
Basic Package
G1036 Footloose WOTG Packet pg 43 $36.00
Includes: -Workshop Stamp Set, Footloose Paper Packet, 2 extra sheets of
White Daisy Cardstock, Wooden Badge Buttons, Instructional Brochure)
1 extra sheet White Daisy CS , 1 extra Sweet Leaf CS
Better Package = Basic Package + the following: $53.10
Z1702 Paradise Baker’s Twine pg 124 5.70
Z1693 Seaside Wooden Shapes pg 128 5.70
X7151C Footloose Dimensional Elements pg 40 5.70
Z726 Sponge Daubers (3) pg 132 3.95
Best Package = Basic & Better Packages + the following products
Z2195 Lagoon Stamp Pad pg 8 6.10
Z2167 Crème Brulee Stamp Pad pg 9 6.10
Z2135 New England Ivy Stamp Pad pg 9 6.10
Z2164 Sorbet Stamp Pad pg 9 6.10
E1002 Rustic Alphabet 35
Other items that you might want to add to your order this month:
1515 Tombow Refill pg 134 6.35
Z1151 3D Foam Tape pg 134 6.90
1772 or Z341 Regular or Mini Glue Dots pg 134 8.70
Z697 Round Sponge pg 132 1.50
Z578 Corner Rounder pg 134 9.20
Z1204 Bone Folder pg 133 5.70
4110 Clear 12 x 12 Memory Protectors (10 pack) pg 122 6.90
Z4115 Clear 12 x 12 Memory Protectors Value Pack (50) pg 122 26.00
Z1325 Memory Protectors (12 x 12) Flip Flaps pg 122 4.60
Z1342-Z1347 Assorted Colors – My Legacy Faux Leather 12 x 12 Albums pg 121 28.80
Studio J Digital Scrapbooking (YOU’LL LOVE IT!)
SJMEM12 12 month membership pg 11 99.00
SJMEM3 3 month membership pg 11 30.00
SJ5P 5 pack pg 11 55.00
Must Haves:
***Z1686 Cricut Art Philosophy Collection pg 13 99.00***
9034 Magic (Interactive Scrapbook Layout How-To Book) pg 10 35.00
*At this level you qualify for the Stamp of the Month (Friendship Bouquet at $5 ($17.95 value)
*** YOU GOTTA HAVE IT!!!!
Your Close To My Heart Independent Consultant:
Amy McGrew, (843)207-8698
stamperamy@earthlink.net, amy.ctmh.com
scrapbooklifewithamy.blogspot.com “Like” me on Facebook: Amy McGrew, Close To My Heart Independent Consultant


 Create a Polaroid snapshot look by first cutting out a rounded-corner rectangle the size of your focal point. Then, cut a larger rectangle around the negative space, creating the look of a Polaroid. For example, if your subject is 3" × 2", cut a rounded 3" rectangle using the Cricut® machine then discard the rectangle and keep the negative space, cutting that piece at 4" × 2½". Add journaling to the empty white space at the bottom and attach it to the layout at an angle using 3-D foam tape. You’ll now be able to create the Polaroid look for any kind of picture without needing a Polaroid camera!
 Make a darling accent from your paper scraps by trimming a complementary banner and wrapping it around a pin from the Bling assortment (Z1466) to form a small pin flag.
 Use dark thread and stitch around your layout’s focal elements to ground your page.
 Add a bit of white, solid space behind decorative elements, such as this baker’s twine bow, to help them stand out on busy B&T Duos® papers, like this chevron pattern.
 To help two adjacent patterns stand out individually, separate them with a solid color in between.
 Combine several paper patterns and colors to create a trendy bohemian chic look.
 Carry the neutral foundation color, in this case Grey Wool, onto the other elements of your art piece to help the eye easily transition between elements, like the colorful chevron box top and the sides of the box.
 To create a card with a clean, crisp look, use the dominant neutral color to stamp your sentiment.
 Create a trendy yo-yo element by accordion-folding a long strip of cardstock every 1/4", adhering the two ends together to make a circle, stitching the center with thread all the way around, and pulling the ends of the thread taut to create a yo-yo. Secure the center with a button to keep your yo-yo flat.
 Create your own ribbon from your favorite B&T paper. Cut a strip of paper a little less than three times the length you want your ribbon to be. Mark or score your strip in segments as follows: 1/2", 1", 1/2", 1", 1/2", etc. Starting at a 1/2" scored end, make two folds going away from you, then two folds coming toward you, then repeat until your ribbon is complete.
 Thread a long ribbon through the banner holes and then add some flair by tying small bows or knots to the ribbon in between each pennant using baker’s twine or Waxy Flax.
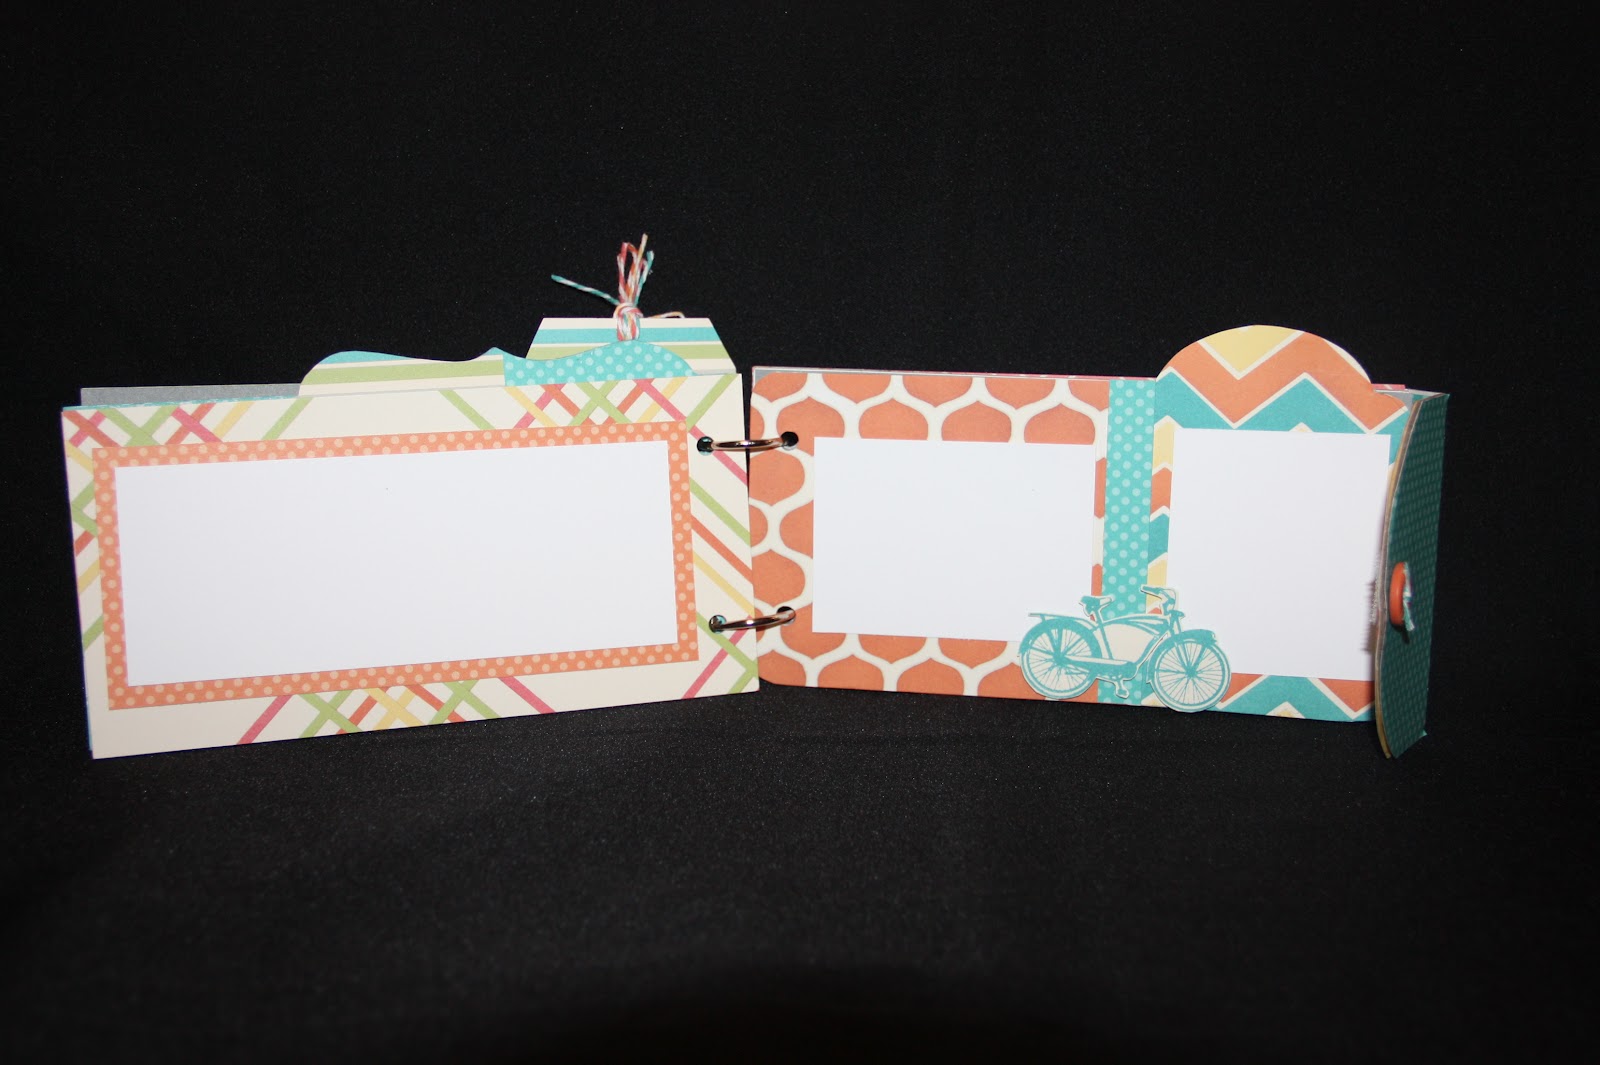


